




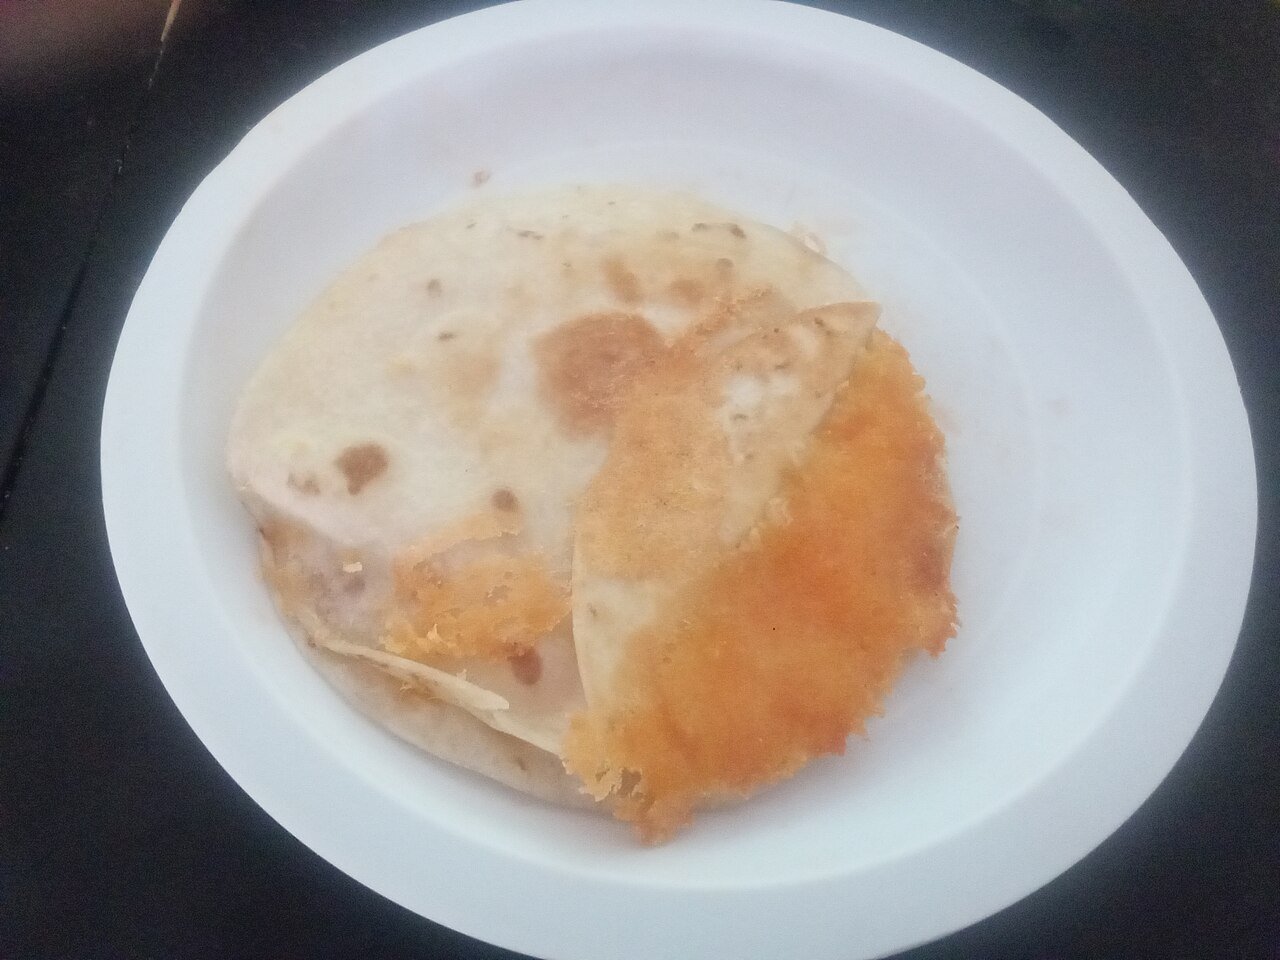
20-Minute Black Bean and Corn Quesadillas
Make crispy black bean and corn quesadillas in about 20 minutes with a no-fuss filling and easy meal prep ideas. This guide is written for a home kitchen, where time, cost and cleanup all matter. Choose fresh ingredients when they matter for taste, but use pantry staples where they do the job. Swaps are useful when they keep the core balance of the recipe.
What you need to know before starting

Drain the beans and corn, grate the cheese and put a wide spatula beside the skillet. The amounts below give a clear starting point. Taste at the end, as ingredients vary from kitchen to kitchen.
Ingredients and portions
This ingredient list is designed to be easy to shop for. Check your pantry first and buy only the gaps. The stated amounts are a starting recipe, not a fixed rule for every household.
- 4 large flour tortillas
- 1 can (15 oz) black beans, rinsed and drained
- ¾ cup corn, thawed if frozen
- 1 cup shredded cheddar or Monterey Jack
- ½ teaspoon ground cumin
- ½ teaspoon smoked paprika
- 2 tablespoons chopped green onion
- 1 teaspoon olive oil
- Lime wedges and salsa, to serve
Step-by-step method

Follow the sequence rather than doing each job at random. It keeps hot pans and fresh ingredients in the right order.
Step 1: Get ready
Mash half the beans lightly so the filling holds together. Dry the black beans and corn before filling tortillas. A little prep keeps the outside crisp and the center warm.
Step 2: Build the base
Mix beans, corn, cumin, paprika and green onion in a bowl. A quesadilla needs two things: a crisp tortilla and a hot filling. Neither requires a long cooking time.
Step 3: Use the right heat
Spread cheese and bean mixture over one half of each tortilla; fold to close. Let the tortilla turn golden on the first side before flipping it. The cheese should melt as the second side crisps.
Step 4: Check the texture
Cook in a lightly oiled skillet over medium heat for about 3 minutes per side, until both sides are crisp and the cheese has melted. Choose fresh ingredients when they matter for taste, but use pantry staples where they do the job. Swaps are useful when they keep the core balance of the recipe.
Step 5: Finish and serve
Rest for one minute, slice and serve with lime and salsa. Drain the beans and corn, grate the cheese and put a wide spatula beside the skillet.
Small details that change the result

It is often one small detail that makes the difference between an okay result and something you want to cook again. Here are the points worth watching in this particular method.
Texture and timing
Keep fillings dry so tortillas crisp instead of steaming. Choose fresh ingredients when they matter for taste, but use pantry staples where they do the job. Swaps are useful when they keep the core balance of the recipe.
How to work ahead
Use medium heat; high heat burns the tortilla before the center gets hot. Drain the beans and corn, grate the cheese and put a wide spatula beside the skillet.
A useful alternative
A pizza cutter makes clean wedges for lunch boxes. Dry the black beans and corn before filling tortillas. A little prep keeps the outside crisp and the center warm.
How to fit this into a real week
Think about when you will cook and when you will eat. If you have only a short break, measure what you can in advance and leave fresh items until just before serving. If you have more time on a weekend, prep the parts that hold well and keep them in clean covered containers. This approach keeps the actual cooking session short without giving up control of the final texture.
When you shop, check what is already at home. Buying one ingredient for one recipe may cause waste. Look for sensible ways to use it in another meal, such as a grain bowl the next day, vegetables in a soup, or a small baked snack for breakfast. Use the ingredient while it is still fresh, and follow food storage guidance rather than judging safety only by smell.
Common problems and how to fix them
If a dish seems flat, check salt, acidity and heat before adding a lot of extra ingredients. If the texture seems wrong, think about moisture and crowding. Wet ingredients steam; dry surfaces brown. If baked food turns out dry, review flour measurement and bake time. Do not assume that a longer cook time always improves food.
On a second attempt, change one thing at a time. Note the pan size, portion size and timing. A short kitchen note can be more useful than a complex chart because it tells you exactly what worked with your equipment.
Serving, storage and leftovers

Serve fresh food at the temperature that suits it. Use clean utensils and cover what you save. According to the USDA Food Safety and Inspection Service, most cooked leftovers can stay refrigerated for three to four days when handled properly. Refrigerate perishable foods promptly, and reheat leftovers to 165°F (74°C). These general rules do not replace specific guidance for an ingredient or package.
For lunches, pack sauces or wet toppings separately where this keeps the texture better. Label containers with a date, and freeze extra portions before they sit too long in the fridge.
Frequently asked questions
Can I make quesadillas vegan?
Choose plant-based cheese or mashed avocado as a binder. A quesadilla needs two things: a crisp tortilla and a hot filling. Neither requires a long cooking time.
Can I add chicken?
Use fully cooked chicken and heat the filling through. Let the tortilla turn golden on the first side before flipping it. The cheese should melt as the second side crisps.
How do I reheat leftovers?
A dry skillet gives back more crunch than a microwave. Choose fresh ingredients when they matter for taste, but use pantry staples where they do the job. Swaps are useful when they keep the core balance of the recipe.
How to build quesadillas that stay crisp
A great quesadilla needs a dry filling and even heat. Beans straight from a can carry water on the surface. Rinse them, then shake the colander well. Spread the beans on a plate while you prepare the rest. Pat thawed corn dry too. Mashing a small share of the beans creates a paste that holds the loose kernels in place. You do not need a thick layer of cheese to keep everything together.
Divide the filling evenly before you begin cooking. That helps make four tortillas of similar size and avoids leaving one overfilled. Place cheese closest to the tortilla, then beans and corn, then a little more cheese. Fold firmly but do not press so hard that the filling spills. A nonstick or well-seasoned pan needs only a thin coat of oil. Medium heat gives the cheese time to melt while the outside turns golden.
When cooking for two people, keep the first quesadillas warm on a rack in a low oven rather than stacking them on a plate. Stacking traps steam and softens the crust. Put salsa, lime and yogurt dip on the table in small bowls. For packed lunches, cool the pieces before closing the container and keep cold ingredients chilled. Reheat in a dry skillet when you want the crisp edge back. Leftover bean filling can also go into a rice bowl or wrap.
Prepare a small quesadilla station
Set out the tortillas, grated cheese, bean mix and a plate for cooked pieces before heating the pan. This is faster than opening packages while a tortilla browns. If cooking for several people, make two at a time in a large pan, but leave enough room for the spatula. The first side should be crisp before you flip, so the folded edge holds together.
You can make a mild salsa from diced tomato, lime juice and a pinch of salt. Add chopped onion only if you like it. Keep this wet topping separate from the tortilla. If you have a child who avoids visible beans, mash more of the filling and spread it thinly. For someone who likes a hearty filling, add extra beans but use two tortillas rather than piling on so much that the center cannot heat evenly.
Image credit: Cheese quesadilla photograph, Wikimedia Commons (CC0). Illustration does not show the exact bean-and-corn filling. For photo licensing, consult the original Wikimedia Commons file page. This image is illustrative and does not claim to document testing of the stated recipe.
Final kitchen notes
The most useful recipe or guide is one you can repeat. Keep what worked, adjust what did not and use your own taste as a guide when food safety is not at stake. Let the tortilla turn golden on the first side before flipping it. The cheese should melt as the second side crisps. If you share the result with someone, note any ingredient swaps so they can make the same version.