




How to Measure Flour Correctly for Better Baking
Learn how to measure flour by weight or with cups so cookies, cakes and muffins turn out more consistent. This guide is written for a home kitchen, where time, cost and cleanup all matter. If cakes and cookies often turn out differently, start by checking the amount of flour you use.
What you need to know before starting
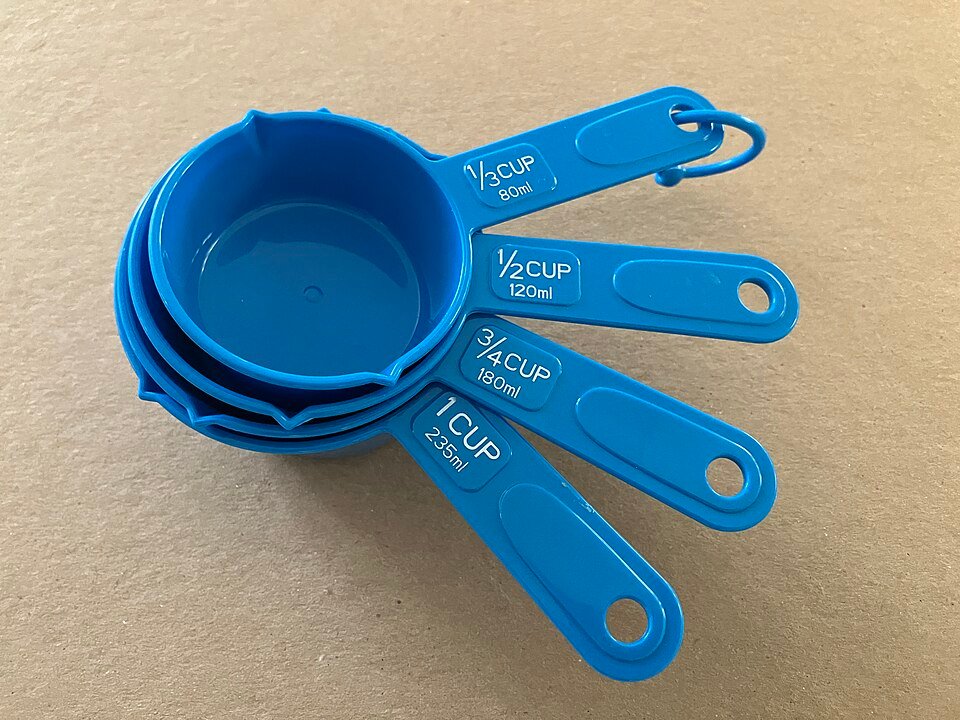
A level cup gives more consistent volume, but a scale is best when a recipe supplies grams. Treat safety or measurement advice as a method, not a guess. Use a reliable tool when a number matters.
Tools and supplies
Gather these supplies before you begin. Most are common kitchen tools. You can still use the method if you own fewer gadgets, but do not guess at safety temperatures.
- A digital kitchen scale, if available
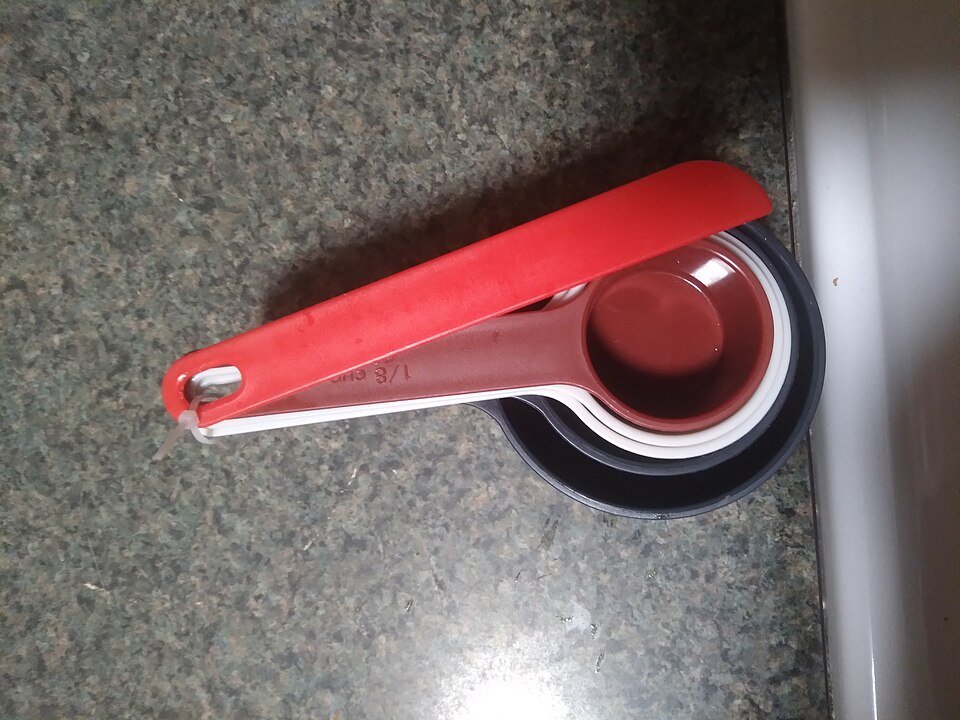
- A dry measuring cup for volume measuring
- A spoon or scoop
- A straight-edge knife
- The flour your recipe specifies
Step-by-step method
Follow the sequence rather than doing each job at random. It keeps hot pans and fresh ingredients in the right order.
Step 1: Get ready
Read the recipe first and check whether it supplies gram weights. Choose fresh ingredients when they matter for taste, but use pantry staples where they do the job. Swaps are useful when they keep the core balance of the recipe.
Step 2: Build the base
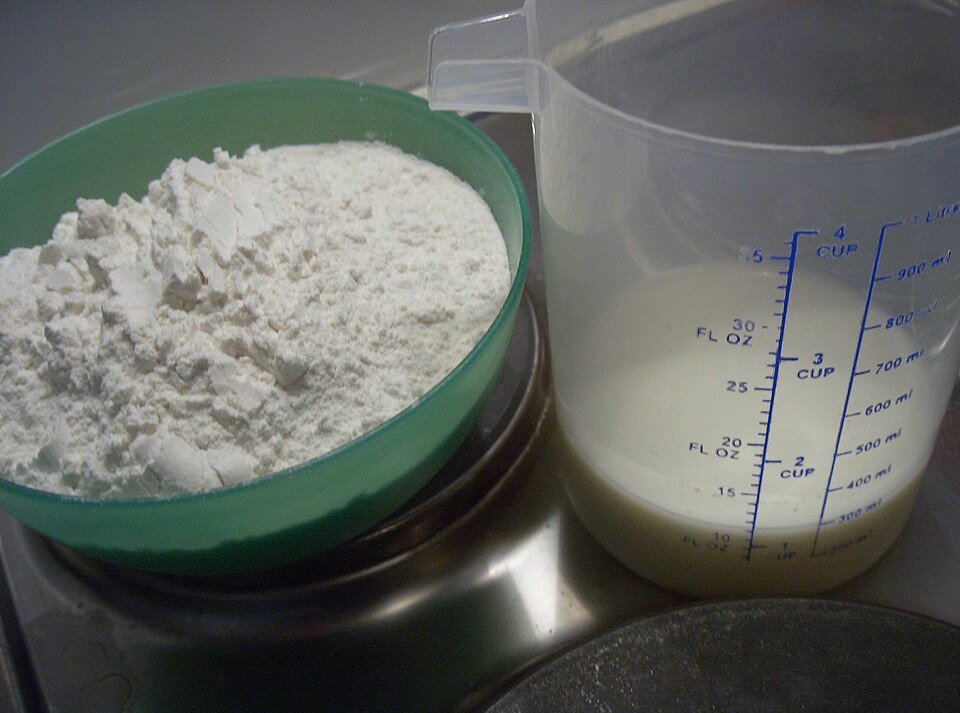
If it gives grams, put a bowl on your scale, press tare and add flour to the requested weight. Before you start, clear a small work area, set out the tools you need and wash the produce. This makes each step calmer and lowers the chance you will skip something.
Step 3: Use the right heat
If it lists cups only, stir or fluff the flour first to break up packed areas. The same measuring cup can hold different amounts of flour depending on how you fill it. A scale offers an easy check.
Step 4: Check the texture
Spoon flour lightly into a dry measuring cup without shaking or tapping the cup. If cakes and cookies often turn out differently, start by checking the amount of flour you use.
Step 5: Finish and serve
Sweep excess flour off the top with a flat edge, then add it to your mixing bowl. A level cup gives more consistent volume, but a scale is best when a recipe supplies grams.
Small details that change the result
It is often one small detail that makes the difference between an okay result and something you want to cook again. Here are the points worth watching in this particular method.
Texture and timing
King Arthur Baking uses 120 g per cup for its all-purpose flour; other recipe authors may use other standards, so use the recipe’s own weights when listed. If cakes and cookies often turn out differently, start by checking the amount of flour you use.
How to work ahead
A cup packed from a flour bag can hold much more than one that was spooned and leveled. A level cup gives more consistent volume, but a scale is best when a recipe supplies grams.
A useful alternative
A liquid measuring jug is made for pouring liquids, not for level dry-flour measuring. Choose fresh ingredients when they matter for taste, but use pantry staples where they do the job. Swaps are useful when they keep the core balance of the recipe.
How to fit this into a real week
Think about when you will cook and when you will eat. If you have only a short break, measure what you can in advance and leave fresh items until just before serving. If you have more time on a weekend, prep the parts that hold well and keep them in clean covered containers. This approach keeps the actual cooking session short without giving up control of the final texture.
When you shop, check what is already at home. Buying one ingredient for one recipe may cause waste. Look for sensible ways to use it in another meal, such as a grain bowl the next day, vegetables in a soup, or a small baked snack for breakfast. Use the ingredient while it is still fresh, and follow food storage guidance rather than judging safety only by smell.
Common problems and how to fix them
If a dish seems flat, check salt, acidity and heat before adding a lot of extra ingredients. If the texture seems wrong, think about moisture and crowding. Wet ingredients steam; dry surfaces brown. If baked food turns out dry, review flour measurement and bake time. Do not assume that a longer cook time always improves food.
On a second attempt, change one thing at a time. Note the pan size, portion size and timing. A short kitchen note can be more useful than a complex chart because it tells you exactly what worked with your equipment.
Serving, storage and leftovers
Serve fresh food at the temperature that suits it. Use clean utensils and cover what you save. According to the USDA Food Safety and Inspection Service, most cooked leftovers can stay refrigerated for three to four days when handled properly. Refrigerate perishable foods promptly, and reheat leftovers to 165°F (74°C). These general rules do not replace specific guidance for an ingredient or package.
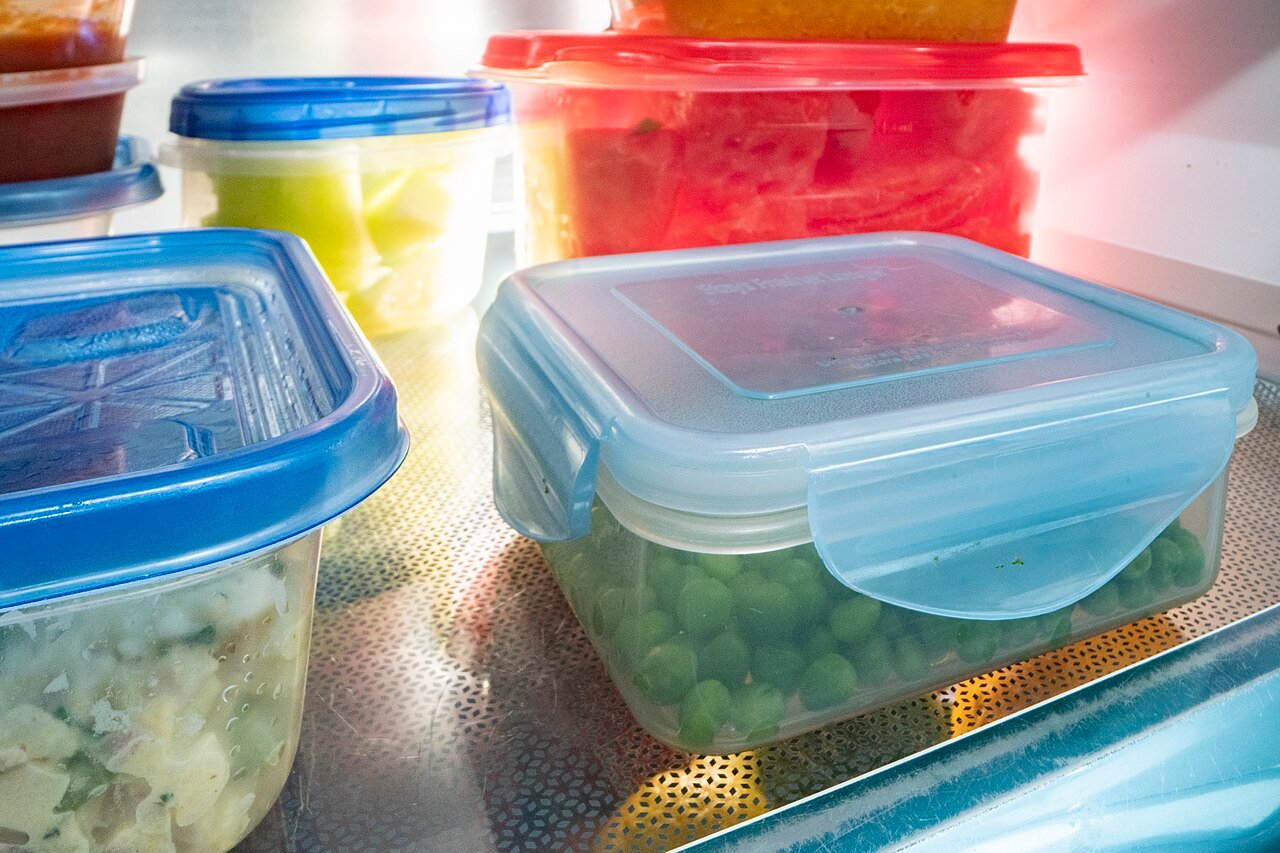
For lunches, pack sauces or wet toppings separately where this keeps the texture better. Label containers with a date, and freeze extra portions before they sit too long in the fridge.
Reliable baking measurements
King Arthur Baking explains that a packed cup of flour may weigh much more than a lightly filled one. Its standard is 120 grams for one cup of all-purpose flour. Use the recipe author’s gram amount when available, as different sources use different standards. This matters most when a batter needs a specific flour-to-liquid balance.
Frequently asked questions
Is one cup of flour always 120 grams?
No. Brands and recipe writers use different conventions. Before you start, clear a small work area, set out the tools you need and wash the produce. This makes each step calmer and lowers the chance you will skip something.
Do I need a scale to bake?
No, but a scale makes repeated results easier. The same measuring cup can hold different amounts of flour depending on how you fill it. A scale offers an easy check.
Why did my cookies come out dry?
Extra flour is one possible cause; oven temperature and baking time matter too. If cakes and cookies often turn out differently, start by checking the amount of flour you use.
What to do when a recipe lists cups but no grams
A kitchen scale is helpful, but many home cooks begin with cups. If your recipe gives only volume, do not press flour into the cup. Stir the flour in its container to loosen it. Spoon flour gently into a dry measuring cup and heap it slightly above the rim. Then sweep the excess off with a straight edge. Do not tap the cup on the counter. Tapping can make more flour settle in, changing the amount you add.
If you bake the same recipe often, you can make your own notes. Use the same flour brand and cup method, then weigh the filled cup once if you have a scale. This helps you repeat your results. Do not apply that number to every type of flour. Whole wheat flour, cake flour and almond flour differ in texture and density. Read the ingredient line carefully, since sifted flour and flour sifted after measuring can also mean different things.
King Arthur Baking sets one cup of its all-purpose flour at 120 grams. That standard is useful for its tested recipes, but another writer may specify a different weight. Follow the gram number in the recipe you are making. If a cake comes out dry, review flour amount, bake time and oven temperature before blaming one ingredient. Measuring well does not solve every baking problem, but it removes one common source of error.
One easy home experiment
To see why flour measurement matters, fill a cup by digging it straight into the bag and weigh it. Empty the flour, fluff the bag with a spoon, and refill the same cup by gently spooning and leveling. Weigh again. You may find a clear gap between the two results. The exact numbers depend on the cup, flour and how you work, so record what you see rather than assuming a universal difference.
When you bake, choose one method and use it for the whole recipe. Switching between packed and spooned cups makes it hard to learn from the outcome. If a recipe includes grams, put the bowl on the scale and use tare after each ingredient when appropriate. That can also reduce dirty measuring cups and cleanup time. Always read the full ingredient line first, especially for ingredients that are sifted or finely ground.
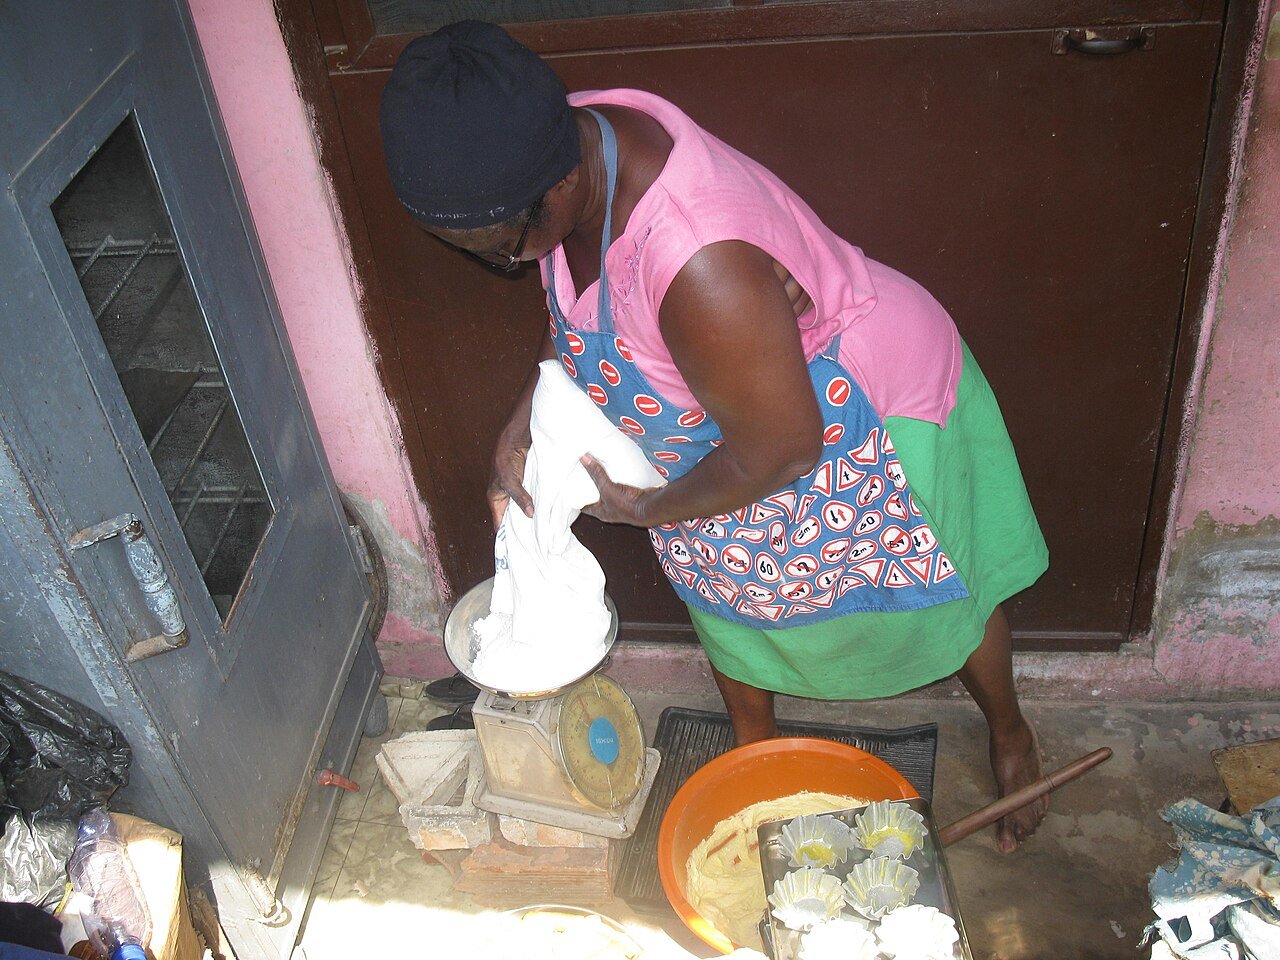
Image credit: Baker measuring flour photograph, via Wikimedia Commons (CC BY-SA). Reference image. For photo licensing, consult the original Wikimedia Commons file page. This image is illustrative and does not claim to document testing of the stated recipe.
Final kitchen notes
The most useful recipe or guide is one you can repeat. Keep what worked, adjust what did not and use your own taste as a guide when food safety is not at stake. The same measuring cup can hold different amounts of flour depending on how you fill it. A scale offers an easy check. If you share the result with someone, note any ingredient swaps so they can make the same version.