



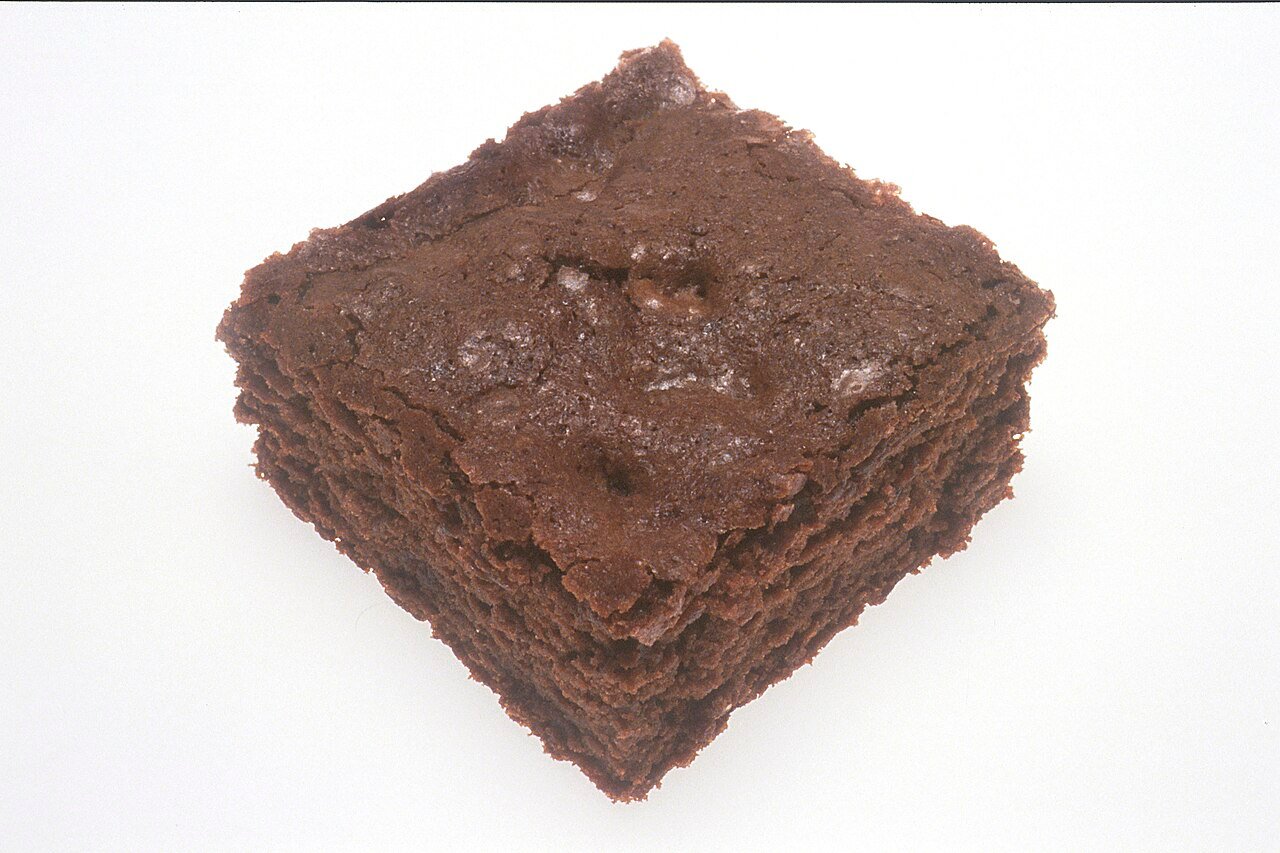
Fudgy Cocoa Brownies with Crackly Tops
Bake fudgy cocoa brownies with crackly tops, a rich center and easy mixing tips using pantry staples. This guide is written for a home kitchen, where time, cost and cleanup all matter. Warm melted butter and well-whisked eggs help create a glossy batter for dense cocoa brownies.
What you need to know before starting
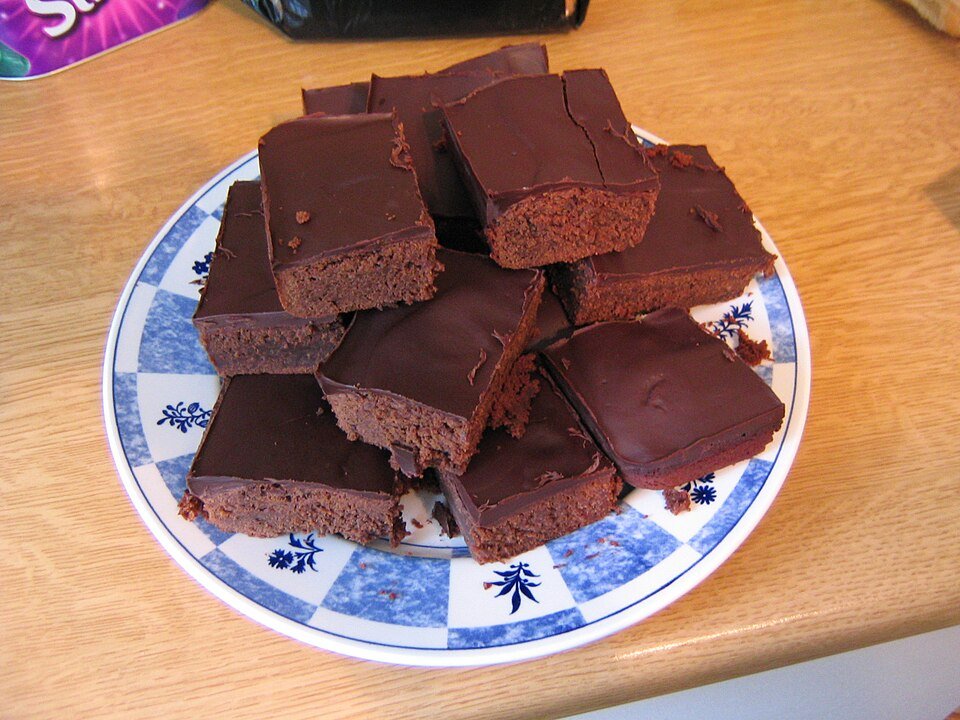
A fudgy brownie should set at the edges but keep a moist center. Pan size and cooling time both matter. The amounts below give a clear starting point. Taste at the end, as ingredients vary from kitchen to kitchen.
Ingredients and portions
This ingredient list is designed to be easy to shop for. Check your pantry first and buy only the gaps. The stated amounts are a starting recipe, not a fixed rule for every household.
- ½ cup (113 g) unsalted butter
- 1 cup (200 g) sugar
- 2 large eggs
- 1 teaspoon vanilla extract
- ⅓ cup (35 g) unsweetened cocoa powder
- ½ cup (60 g) all-purpose flour
- ¼ teaspoon salt
- ½ cup chocolate chips, optional
Step-by-step method
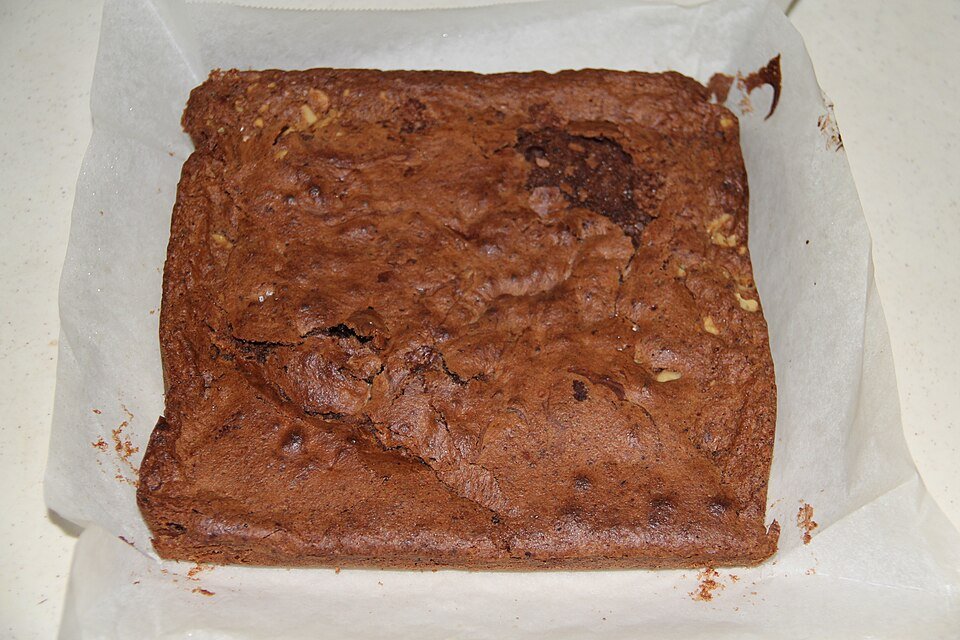
Follow the sequence rather than doing each job at random. It keeps hot pans and fresh ingredients in the right order.
Step 1: Get ready
Heat oven to 350°F (175°C). Line an 8-inch square pan with parchment. Brownies finish setting as they cool. Look for moist crumbs instead of waiting for a dry tester.
Step 2: Build the base
Melt butter gently, then whisk in sugar while the butter is warm, not boiling. Choose fresh ingredients when they matter for taste, but use pantry staples where they do the job. Swaps are useful when they keep the core balance of the recipe.
Step 3: Use the right heat
Whisk in eggs one at a time and beat until the mixture looks glossy. Before you start, clear a small work area, set out the tools you need and wash the produce. This makes each step calmer and lowers the chance you will skip something.
Step 4: Check the texture
Add vanilla, cocoa, flour and salt; fold just until combined. Stir in chocolate chips if using. Warm melted butter and well-whisked eggs help create a glossy batter for dense cocoa brownies.
Step 5: Finish and serve
Spread evenly and bake about 20–25 minutes. A tester should show moist crumbs, not raw batter. A fudgy brownie should set at the edges but keep a moist center. Pan size and cooling time both matter.
Step 6: Get ready
Cool completely before cutting if you want clean square edges. Brownies finish setting as they cool. Look for moist crumbs instead of waiting for a dry tester.
Small details that change the result
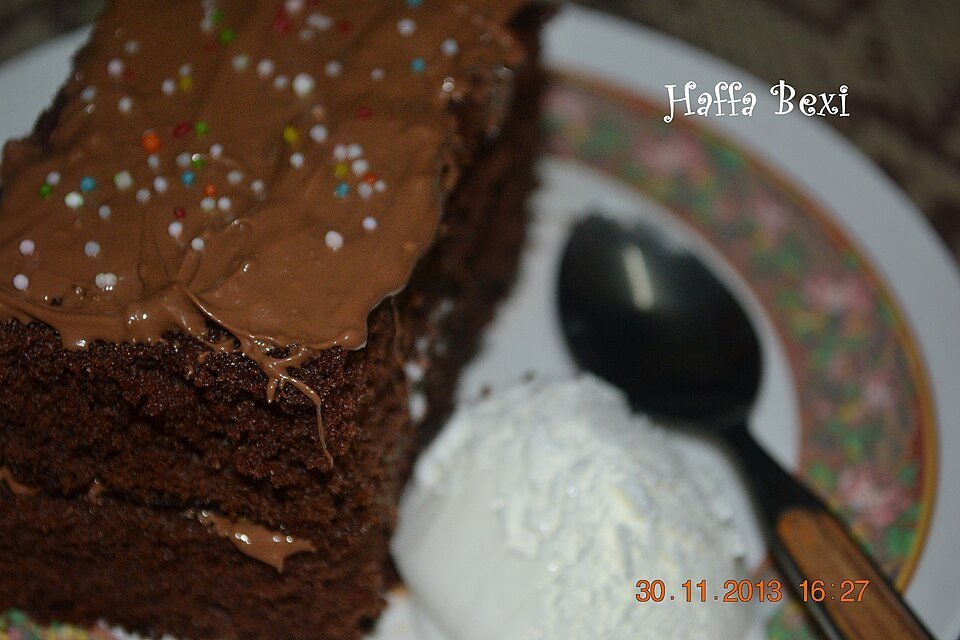
It is often one small detail that makes the difference between an okay result and something you want to cook again. Here are the points worth watching in this particular method.
Texture and timing
Warm butter helps sugar blend, but very hot butter can cook the eggs. Warm melted butter and well-whisked eggs help create a glossy batter for dense cocoa brownies.
How to work ahead
Do not add extra flour to make batter look thick; that can turn brownies cakey. A fudgy brownie should set at the edges but keep a moist center. Pan size and cooling time both matter.
A useful alternative
Let the center set as it cools instead of baking until the toothpick is dry. Brownies finish setting as they cool. Look for moist crumbs instead of waiting for a dry tester.
How to fit this into a real week
Think about when you will cook and when you will eat. If you have only a short break, measure what you can in advance and leave fresh items until just before serving. If you have more time on a weekend, prep the parts that hold well and keep them in clean covered containers. This approach keeps the actual cooking session short without giving up control of the final texture.
When you shop, check what is already at home. Buying one ingredient for one recipe may cause waste. Look for sensible ways to use it in another meal, such as a grain bowl the next day, vegetables in a soup, or a small baked snack for breakfast. Use the ingredient while it is still fresh, and follow food storage guidance rather than judging safety only by smell.
Common problems and how to fix them
If a dish seems flat, check salt, acidity and heat before adding a lot of extra ingredients. If the texture seems wrong, think about moisture and crowding. Wet ingredients steam; dry surfaces brown. If baked food turns out dry, review flour measurement and bake time. Do not assume that a longer cook time always improves food.
On a second attempt, change one thing at a time. Note the pan size, portion size and timing. A short kitchen note can be more useful than a complex chart because it tells you exactly what worked with your equipment.
Serving, storage and leftovers

Serve fresh food at the temperature that suits it. Use clean utensils and cover what you save. According to the USDA Food Safety and Inspection Service, most cooked leftovers can stay refrigerated for three to four days when handled properly. Refrigerate perishable foods promptly, and reheat leftovers to 165°F (74°C). These general rules do not replace specific guidance for an ingredient or package.
For lunches, pack sauces or wet toppings separately where this keeps the texture better. Label containers with a date, and freeze extra portions before they sit too long in the fridge.
Reliable baking measurements
King Arthur Baking explains that a packed cup of flour may weigh much more than a lightly filled one. Its standard is 120 grams for one cup of all-purpose flour. Use the recipe author’s gram amount when available, as different sources use different standards. This matters most when a batter needs a specific flour-to-liquid balance.
Frequently asked questions
Can I double the batch?
Use a larger pan and watch thickness, not only time. Choose fresh ingredients when they matter for taste, but use pantry staples where they do the job. Swaps are useful when they keep the core balance of the recipe.
Why did the top not crack?
Egg-sugar mixing and sugar dissolving can change the finish. Before you start, clear a small work area, set out the tools you need and wash the produce. This makes each step calmer and lowers the chance you will skip something.
How should I store them?
Cover tightly once cool; refrigerate in warm rooms. Warm melted butter and well-whisked eggs help create a glossy batter for dense cocoa brownies.
How to judge brownie doneness with confidence
A brownie pan can look set around the edges while the center is still soft. That is normal for a fudgy style. Start checking near the lower end of the bake time. Gently shake the pan; the center should not slosh like liquid batter. Insert a tester slightly away from the edge. Moist crumbs mean the brownie is likely ready to cool, while wet raw batter means it needs more time. Avoid baking until the tester comes out dry, which can give a much firmer result.
Pan size changes the thickness of the batter. An eight-inch square pan gives a different depth from a larger tray. A thin layer bakes faster and loses moisture more quickly. Metal pans also behave differently from glass, so use the pan size called for and check early if you make a change. If you use a dark pan, watch the edges closely. The oven dial may not reflect its true temperature; a separate oven thermometer can help if results vary a lot.
Cut brownies only after they are cool enough to hold their shape. Lift the parchment edges and move the slab to a board. Wipe the knife between cuts to avoid dragging crumbs over each piece. For a party, small squares are easy to serve. If a brownie seems rich, pair it with tart berries instead of adding another sweet topping. Store the pieces in a sealed box once cool. For a future batch, test one small change, like a few chopped nuts, rather than changing several ingredients at once.
A small test batch strategy
If your first batch comes out too firm, do not change all the ingredients. First check whether the pan was too big or the bake was too long. If the edges were dry while the center was fine, check the oven temperature and pan material. If the whole slab was cakey, make sure you measured the flour correctly and did not beat the batter hard after adding it.
For a cleaner taste comparison, make the basic version before adding nuts, espresso powder or flavored extracts. Taste it at room temperature after a full cool. Brownies served warm can seem softer than they really are. Once you know the base texture, add one variation at a time. This simple testing method helps you find a version you can repeat, instead of relying on lucky timing.
Image credit: Brownie photograph, public domain, via Wikimedia Commons. Reference image. For photo licensing, consult the original Wikimedia Commons file page. This image is illustrative and does not claim to document testing of the stated recipe.
Final kitchen notes
The most useful recipe or guide is one you can repeat. Keep what worked, adjust what did not and use your own taste as a guide when food safety is not at stake. Before you start, clear a small work area, set out the tools you need and wash the produce. This makes each step calmer and lowers the chance you will skip something. If you share the result with someone, note any ingredient swaps so they can make the same version.